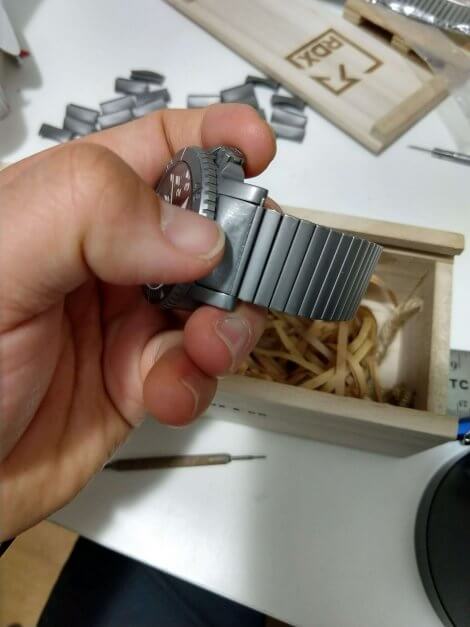
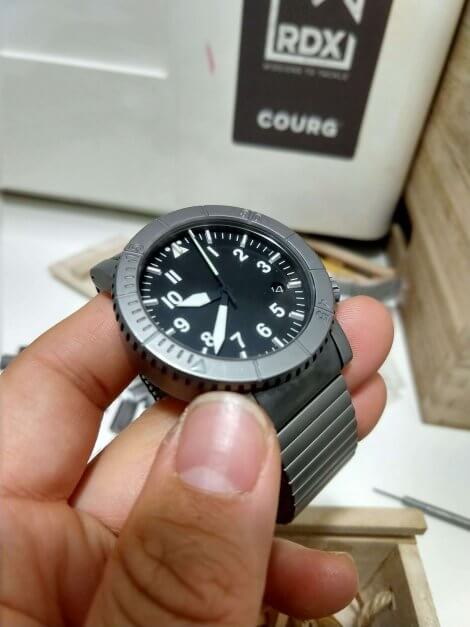
Here’s a quick tutorial about how to adjust your titanium flex band for personalized fit. I prefer a pretty secure and snug fit from my watch straps. So, I found that for my wrist, the best length was when the overall band was one inch shorter than my wrist measurement.
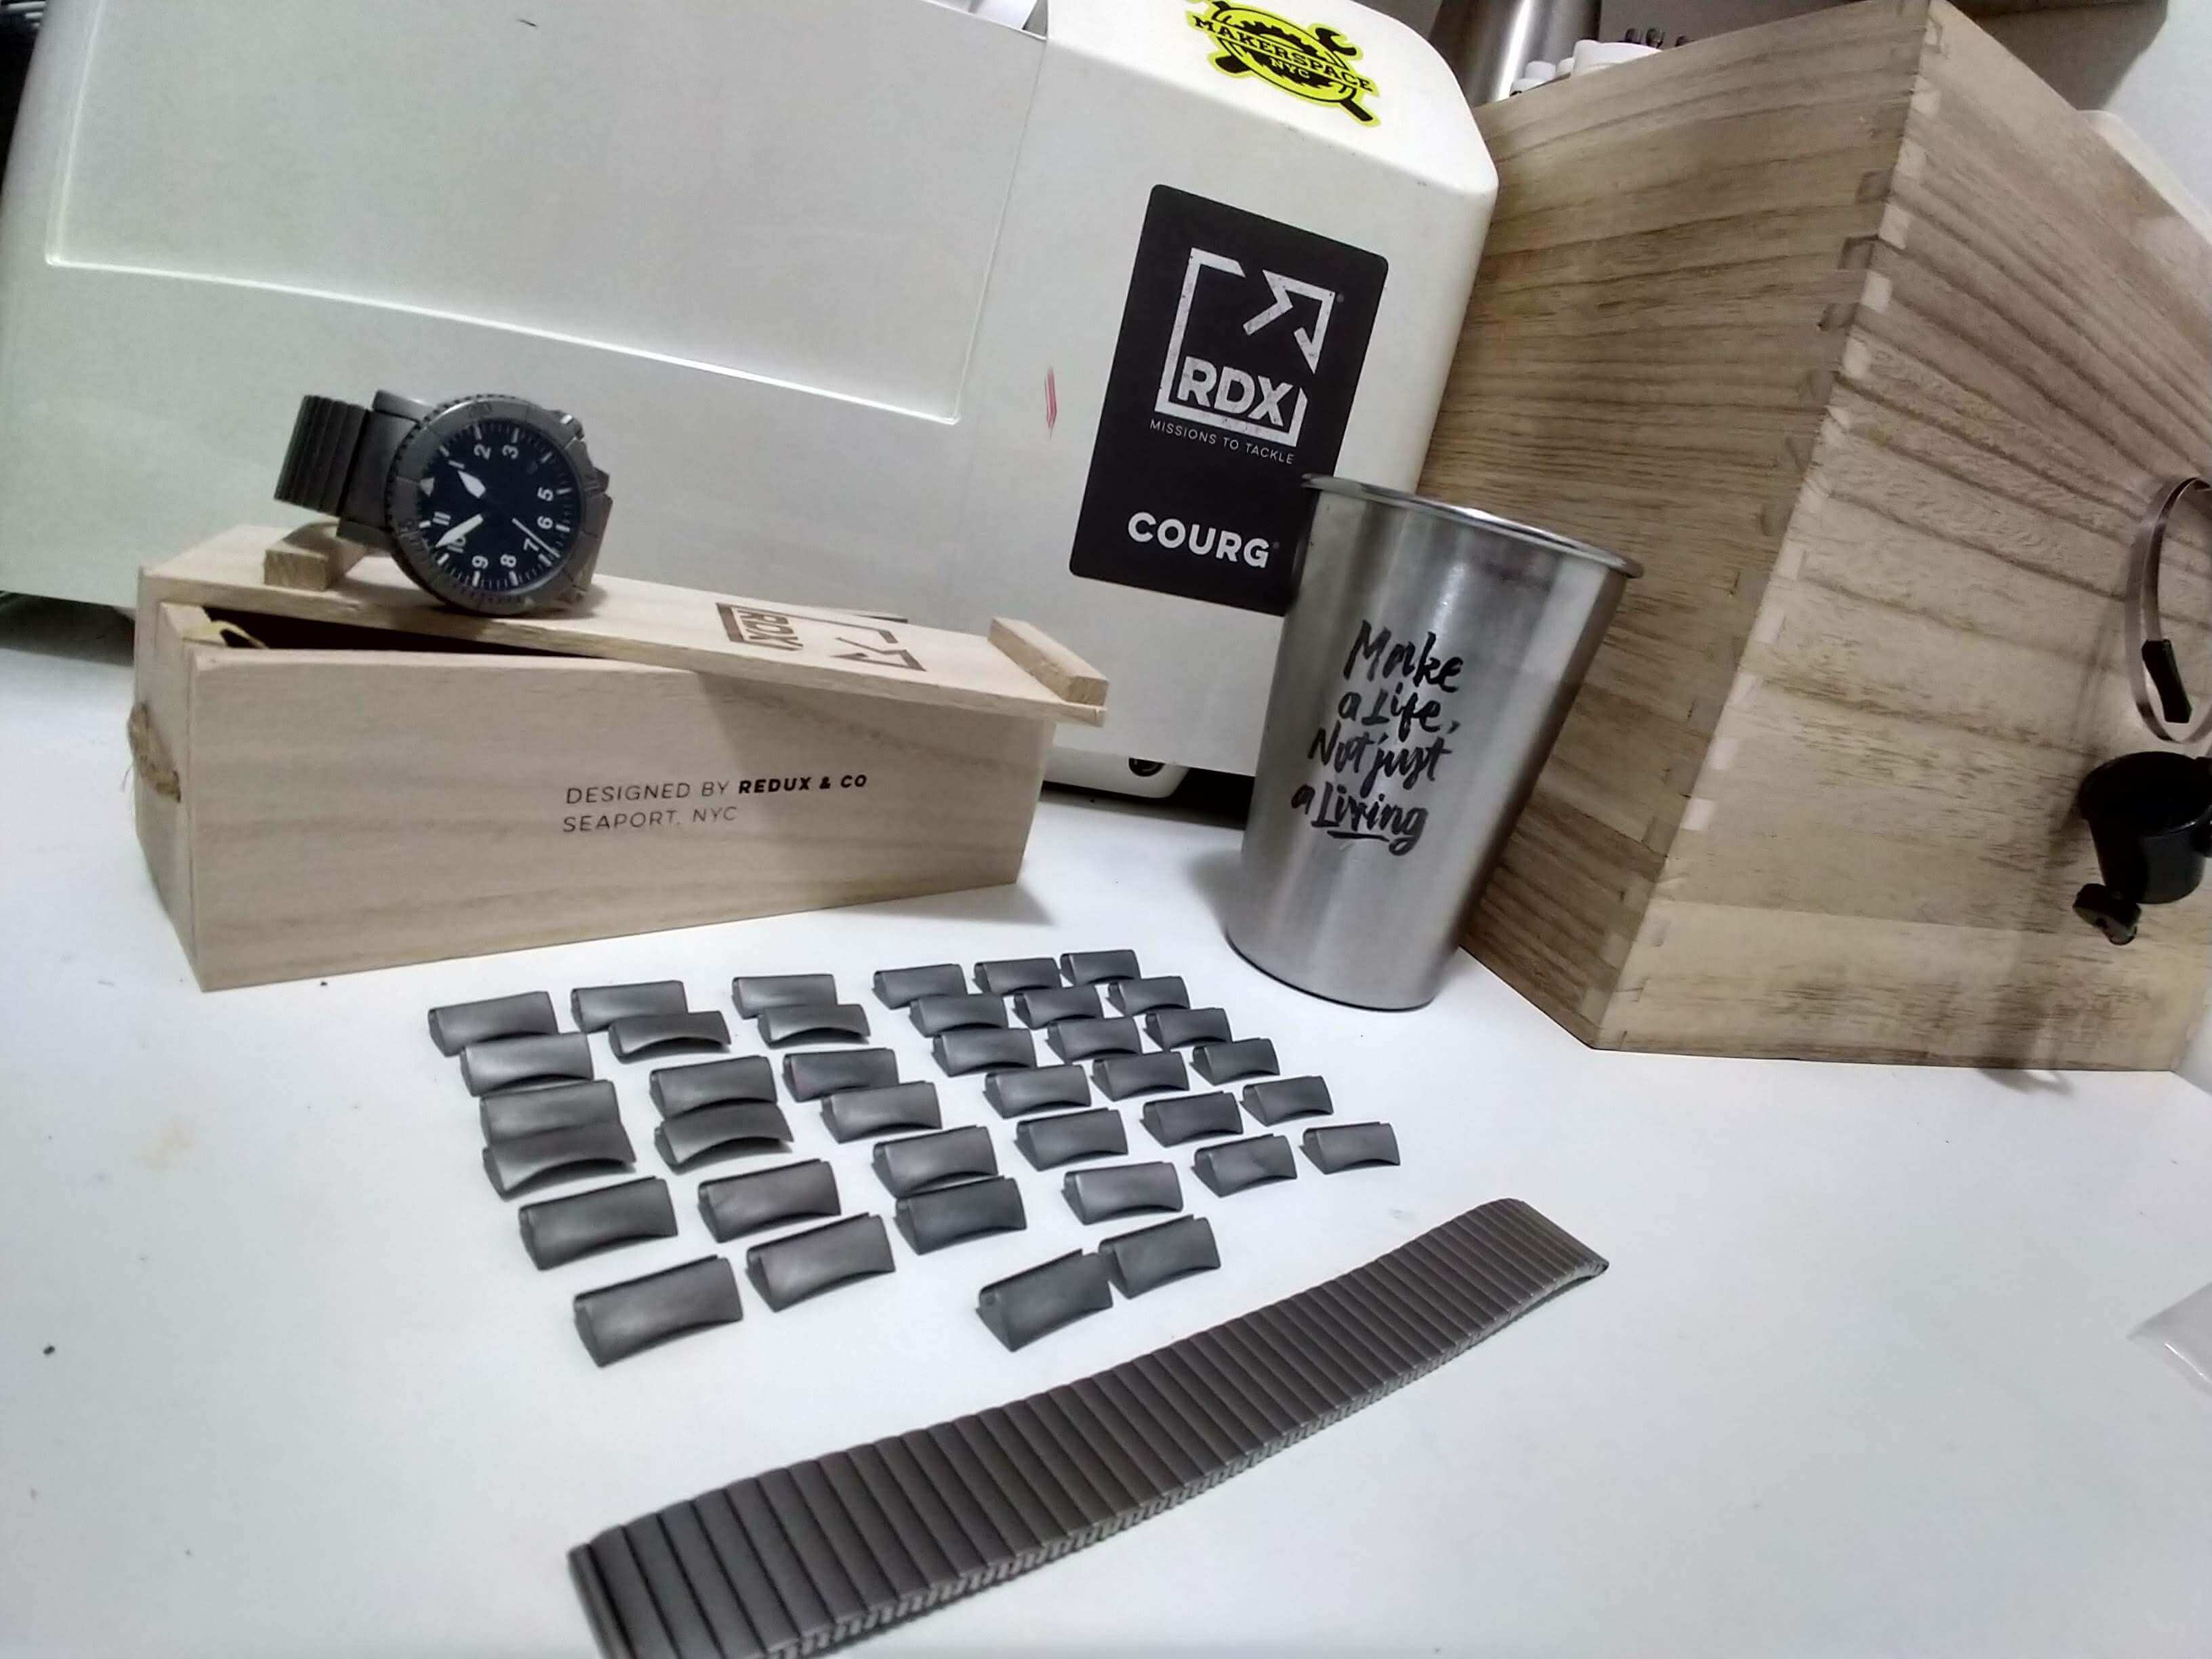
+ PARTS
- End links (2)
- Shoulderless spring bars (2)
- Titanium flex band (1)
+ TOOLS
- CLEAN / CLEAR WORKSPACE (more on this later)
- Needle-nose pliers
- Small flat head screwdriver (mine is 1mm)
- Dose of patience
- Chilled soundtrack
- Install end link, band, and shoulderless pins
- BOOM.
+ LET’S DO THIS
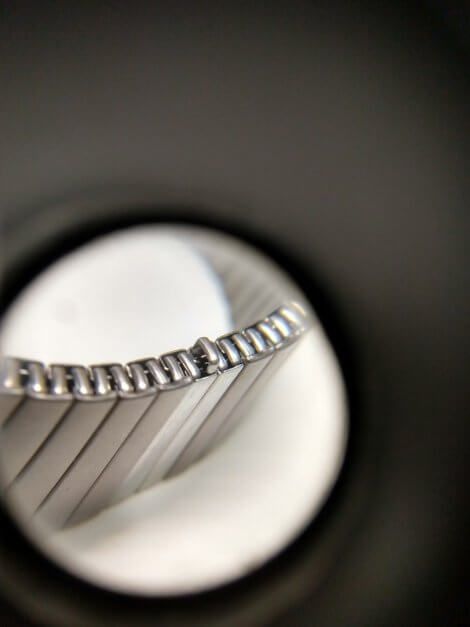
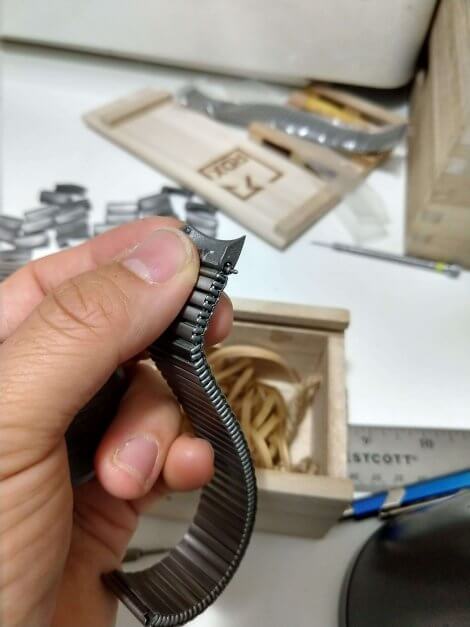
The flexible links are held together by c-shaped clips. These clips connect a bottom layer of links to a top layer of links, in a staggered order. This means each pair of clips connect to two different neighbor links. So, when you go to remove links, you’ll need to release two titanium plates.
Titanium plates retain the c-clips. You’ll need to gently pry the titanium plate’s retention lip on one side, so you can remove the c-clips.
-
-
- Open titanium plate retaining lip
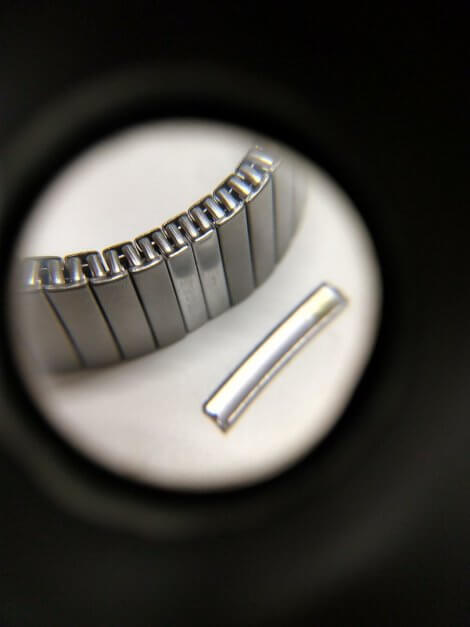
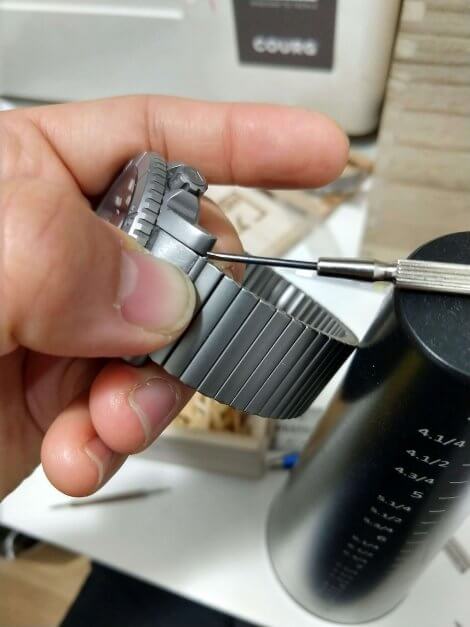
Pick a midpoint along the band, because this will be easier to handle with longer. Extend each section of the band around the link you want to open. This will allow you to slide your screwdriver head into the space between the c-clips.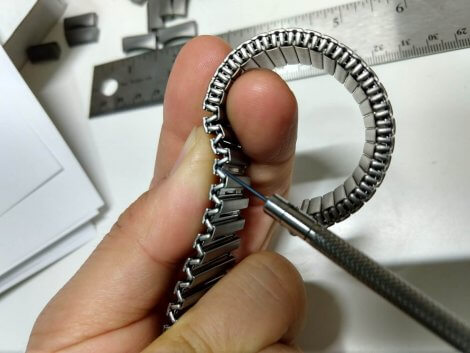
Insert screwdriver head
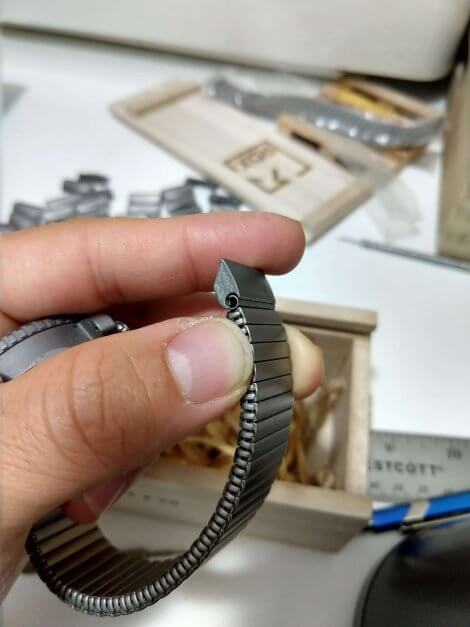
Gently pry open the lip of the titanium plate so that the lip raises over the edges of the c-clips. This will enable you to lift the titanium plate off. You only need to open up one side of the plate. The plate will flip up and you’ll be able to lift the plate entirely off of the link. Set this plate aside.
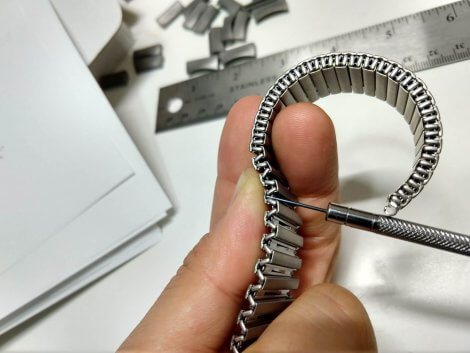
Pry open titanium plate lip
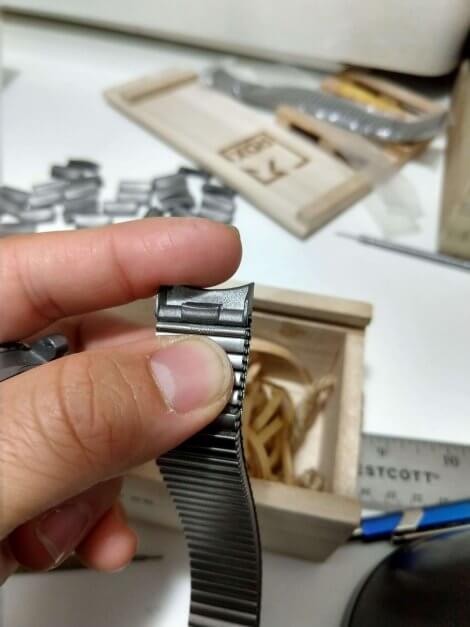
Titanium plate lifted from flex watch band
- Extract c-clips
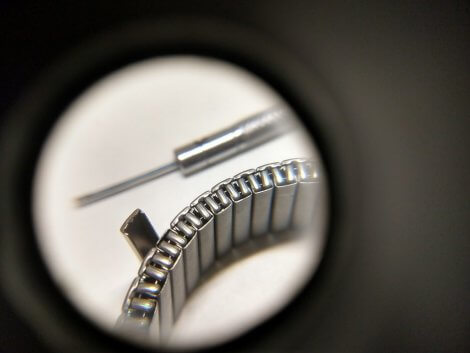
Use your needle nose pliers to snag the edge of the c-clip. This might take a little finessing. Don’t get too Dirty Harry on this or you might accidentally scratch neighboring plates or worse, when the c-clip comes free it has a tendency to flee the scene. This is where the clear and clear workspace comes in. These clips are rather small and easily lost.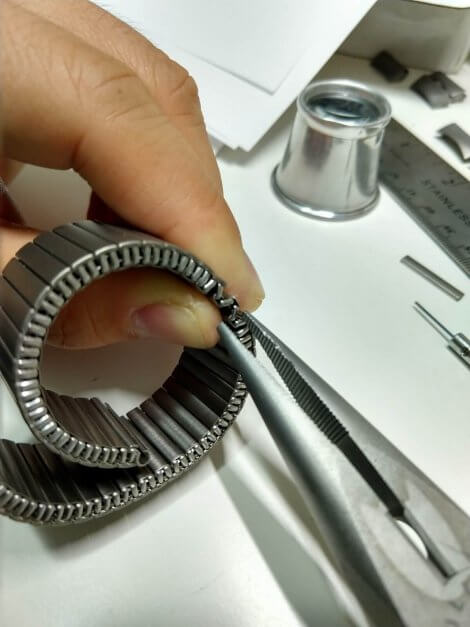
Needle nose pliers to extract the c-clip
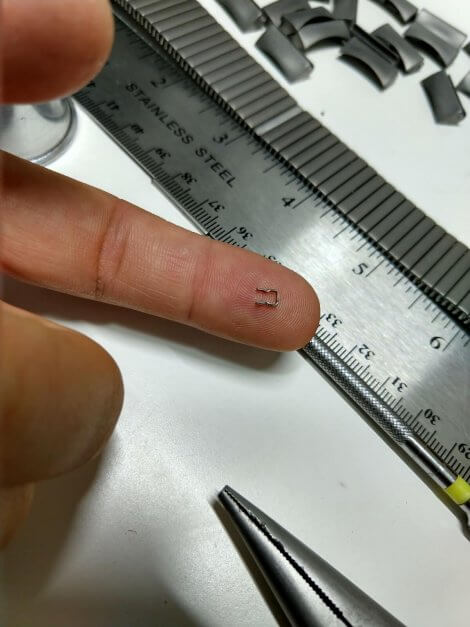
Titanium flex watch band c-clip
- Remove extra links
Remove a second neighboring titanium plate and slide the link out of the opposite c-clips. Remove extra c-clips. Count the number of links you want to shorten the length of your band.Repeat the process above and remove the plates and c-clips on the end of the number of links you want to remove. Be sure to keep one lower level link on the band so you can rejoin the loose ends back together.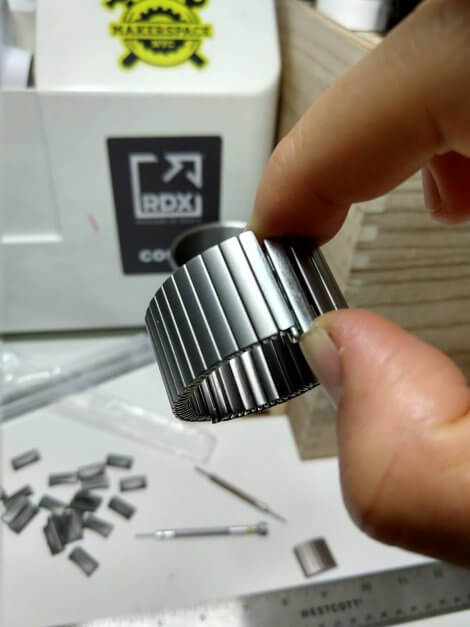
C-clip slides out once the titanium plate is removed
- Reconnect loose ends
Notice the springs in the lower level link. The c-clips fit on other side of that interior metal spring. So, when you go to re-insert the c-clip, you need to wedge the clip in between the link and the spring. You’ll feel a click when you’ve seated the c-clip correctly.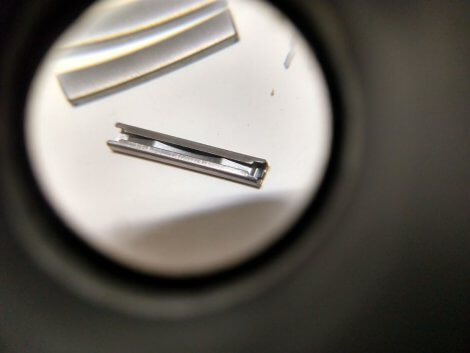
Lower level flex band link
Insert the c-clip back into the retention link clips
When you’ve confirmed that the c-clips are all firmly back in place and the flex is back to working order, reinstall the titanium plates. Seat the side of the plate
Reinstall titanium plates
- Install end link, band, and shoulderless pins
Side view: Endlink and band fit
Bottom view: Endlink and band fit
Components assembled
End link, band, and shoulderless pin position
Use a screwdriver to depress the spring-loaded end of the shoulderless pin so that you can slide the pin in place between the lugs. Jiggle it around a bit until you feel the spring-loaded end click into the drilled lug hole.
Shoulderless pin installation
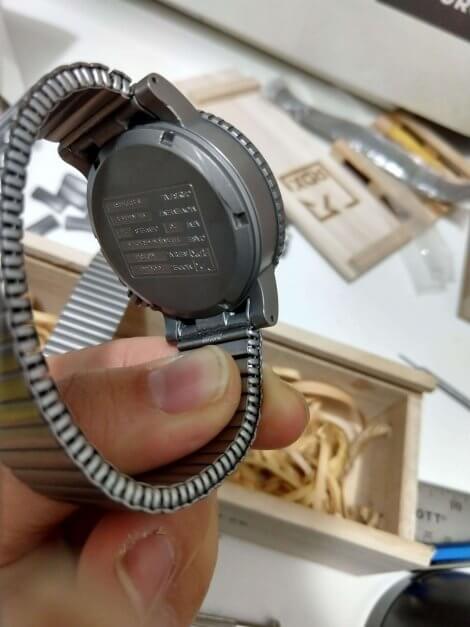
Interior view: Complete installation
Top view: Installation complete
- BOOM. Rock it. Tackle your missions!
- Open titanium plate retaining lip
-